How to Install Advanced Page Visit Counter
Because the Advanced Page Visit Counter is on the WordPress repository, you can easily install it through your website’s admin dashboard. Just go to the ‘Plugins’ menu, search for the counter, click ‘Install,’ and you’re good to go!
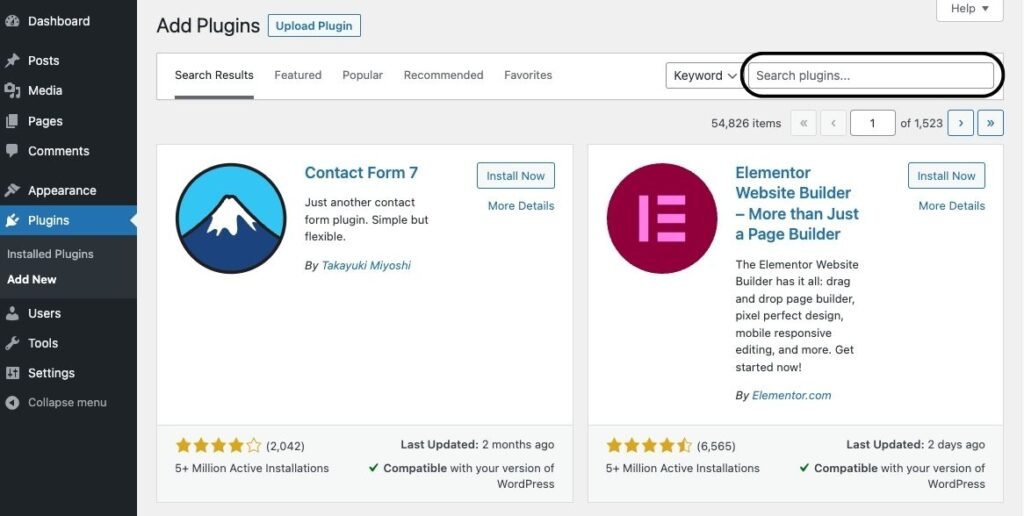
Start by visiting the Plugins > Add New menu.

Then use the search bar at the right side of the screen to search for “Advanced Page Visit Counter“:
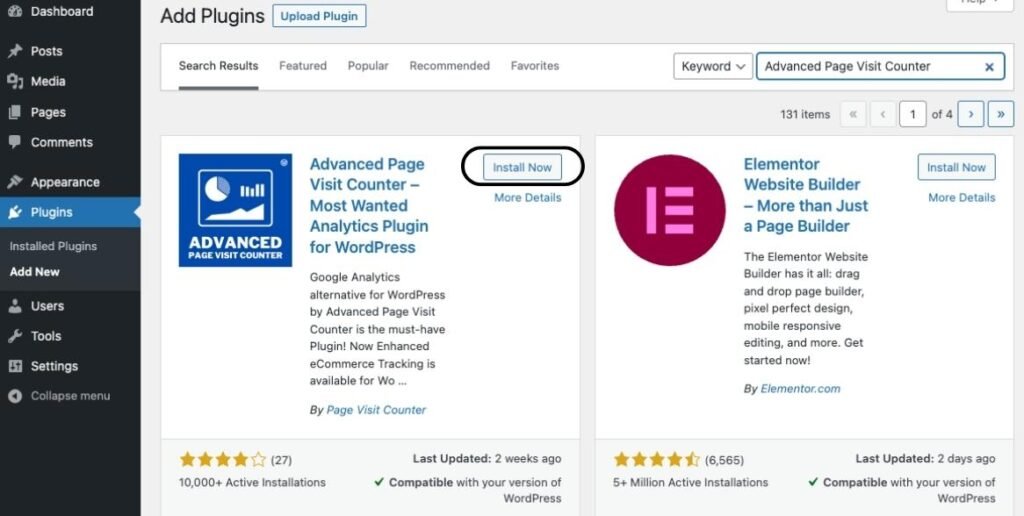
It should be the first result that shows up. Click the Install button to begin the installation.
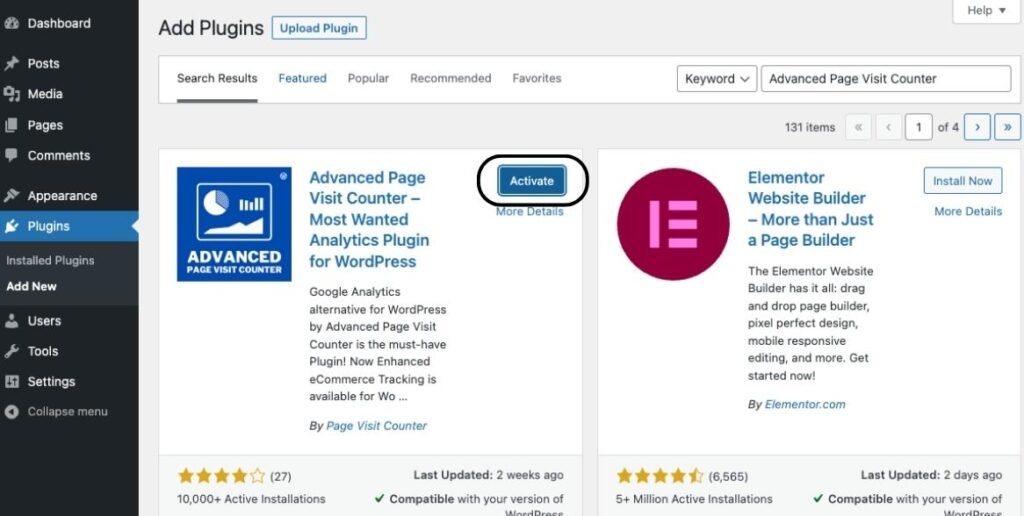
The installation process will only take a few seconds. After that, the button will change to say “Activate.” Just click on the “Activate” button, and the installation will be finished.
After the installation is finished, you’ll see a form that asks if you want to share data or not.

You don’t have to do this, but if you choose to, it will share some data with us. This data helps us learn more about our users and improve our services.
After you select an option in the opt-in form, you’ll be redirected to your Advanced Page Visit Counter dashboard.
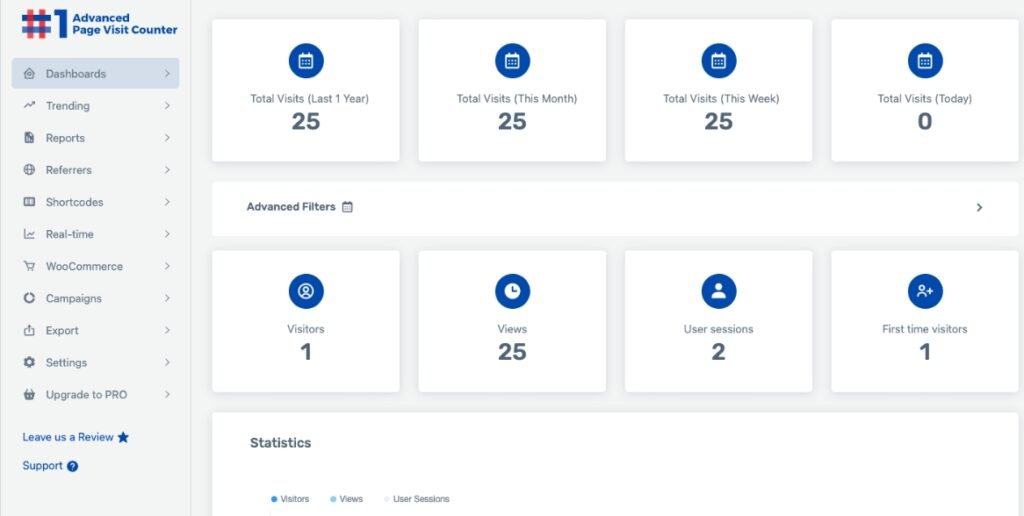
At the bottom, you’ll see a notice to clear your cache. Doing this helps Advanced Page Visit Counter track new visits, and you only need to do it once.
Once Advanced Page Visit Counter is installed, new visitors will be recorded right away. Just refresh the page to see them. If you still don’t see visits getting recorded, follow the troubleshooting steps provided.


